Shelters & Interior Environmental Control
| Other than having a source of drinking water, shelter is the top priority to survive. Without shelter to defend from the elements, severe weather conditions can kill within a few hours. Luckily, there are a wide array of techniques and materials (whatever location) for escaping the elements. Additionally, under "normal" conditions, it is helpful to learn techniques for heating, cooling, cleaning and filtering the indoor environment. |

|
Heating and Cooling the House with Your Clothes Dryer:
[Blog Link]
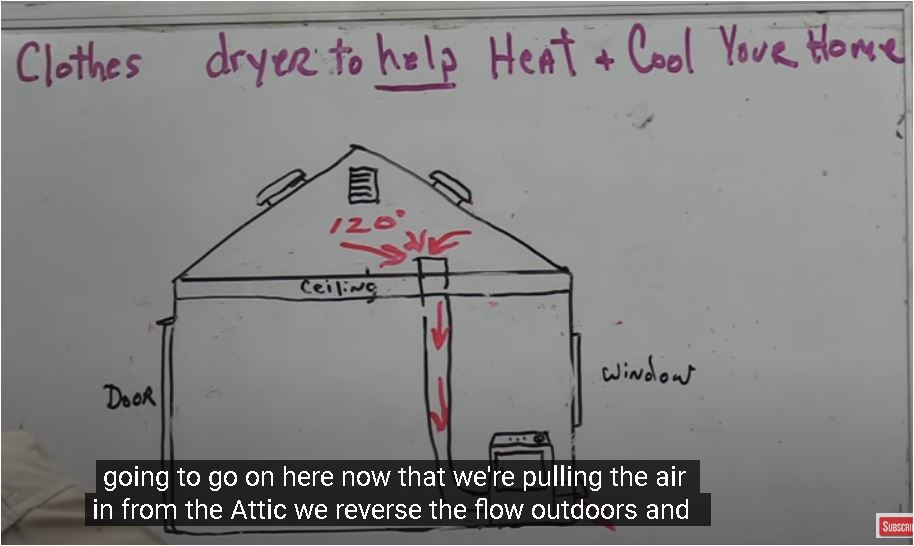
First of all, this method of dryer venting should only be used for ELECTRIC dryers (not gas). Additionally, this may be regulated or prohibited by government or may void the dryer warranty so check these out, if you wish, before proceeding with the installation. Now that that is out of the way, let's proceed with this post. While researching a dryer venting solution for my friend, I found this option. Because he was renting and did not want to drill a 4 inch hole in the wall, this seemed to be the best solution for him, along with the added benefit of heating his home while drying clothes. His landlord did not express opposition to the idea. There are several configurations, most of which use water to collect the dust that would normally blow into the home environment; some have better filtering than others and you can also make one yourself (DIY). We selected the FUNMAS 3-in-1 Indoor Dryer Vent because of its filtering and functional design. Basically, instead of running the ducting hose from the dryer to an external vent, the ducting hose is run from the dryer to the Indoor Dryer Vent. It is recommended to clean the indoor vent as needed or after 6-12 uses, depending on the model used. Additionally, the ducting hose should be periodically cleaned out as lint accumulates in its folds and at the dryer exhaust. Totally remove the ducting hose from the dryer and Indoor Dryer Vent, take it outside, and use a brush, leaf blower or vacuum to clean out the accumulated lint residue. Then vacuum out the dryer exhaust before reattaching the ducting hose. Because the heat from the dryer is not being forced outside, the heat remains in the home which could lower the winter heating bill. Just make sure the Indoor Dryer Vent is not enclosed but exposed to allow the heat to escape to the rest of the house. Now, if you're really energetic, the clothes dryer can also be used to cool your home in the summer by pulling attic heat into the dryer's intake which also pulls cooler outside air into the attic to cool the attic and the house. Because the dryer is pulling heated air from the attic, the dryer's heating element may be used less during the drying cycle, saving money. Resources: The Many Re-Uses for Dryer Lint Periodic Dryer Vent and Hose Cleaning is a MUST How to Heat and Cool Your Home for Free |
|
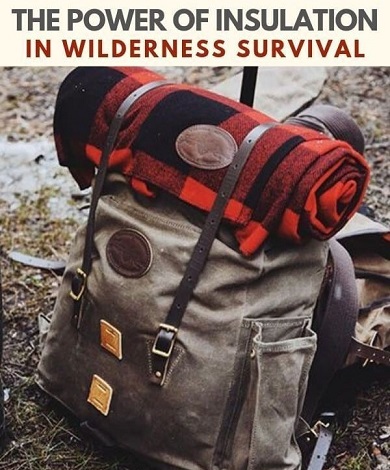
Emergency Insulation Materials to Stay Warm or Cool:
More often than not, when we think of insulation, we think of keeping things warm. Insulating against heat is just as important. By trapping air between layers of material, the inside temperature is protected from the outside environmental temperature. In an emergency/survival situation, basic shelter is a must but insulating against the summer heat or winter cold enhances the shelter's ability to protect us from nature's elements. In cold temperatures, multiple layers of clothing and stuffing insulation into our lightweight clothing suddenly makes that clothing more cold-weather-resistant. Make sure that materials, for clothing or bedding, are not wet or damp. Here are some materials to consider for insulating shelters, clothing or bedding:
[Article 1] [Video 1] |
|
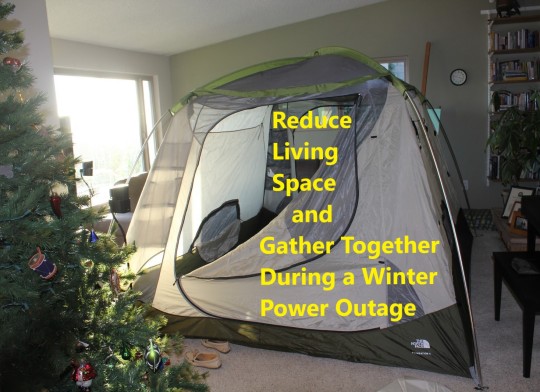
Shelter in Shelter During a Winter Power Outage:
[Blog Link]
When the electric goes out during the cold weather season, shrinking the size of your living space will help retain your body heat and the heat generated by backup heating sources (propane, kerosene, fireplace, wood stove, etc.). Trying to warm a large area is a waste of heating resources. Some ways to to accomplish this are:
|

|
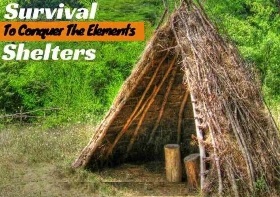
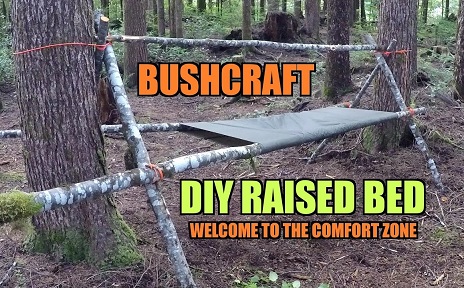
Survival/Wilderness Shelters: There are a wide array of techniques and materials for escaping the elements in the great out of doors.
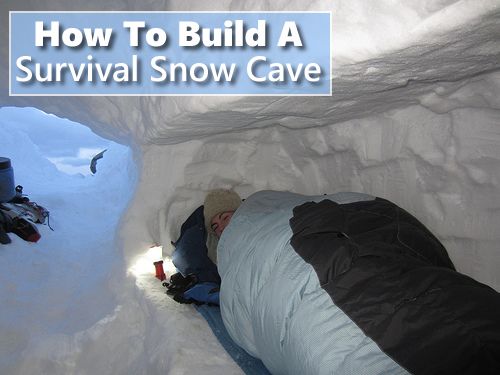
Design Images Snow Cave - Learn How to Build for Winter Survival: The colder seasons bring a new set of survival scenarios. So, you need to find new ways to make it out alive if you're caught in the wilderness. Knowing how to build a survival snow shelter is essential. Find out how to build one that is strong, sturdy and durable to withstand all winter weather situations.
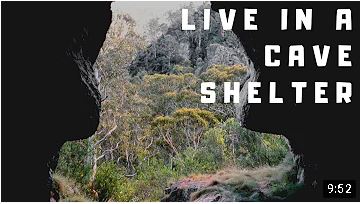
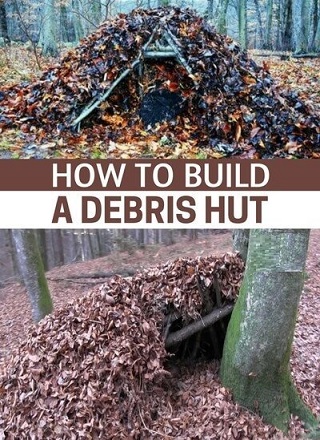
2 - Avoid collapse; roof should be at least 1 foot thick and walls at least 8 inches thicker than the roof. 3 - The entrance should be opposite the wind direction. 4 - Avoid a location that could be wiped out by a landslide, avalanche, falling rocks, or falling trees. 5 - Poke a breathing hole (2+ inches) in the roof to prevent carbon monoxide/dioxide build-up. Keep a stick in the hole to prevent closing. 6 - Smooth the inside roof and walls to prevent dripping. 7 - Cover the inside ground with insulating material. 8 - Position a brightly colored flag of adequate size to be spotted easily for searchers. Other Types of Snow Shelters Stone Caves can be great ready-made shelters when they are safe. Inspect before use. Check for existing critter inhabitants or signs of frequent visitors such as animal feces, hair/fur, bones, tracks and smells of urine. Keep in mind that, during hot weather, snakes seek cool shelter and they eat bats, and other rodents, which may inhabit the cave. Look for signs of water leaks or wetness. High dampness or moisture content makes it miserable to sleep, leaves you cold most of the time, promotes bacteria and mold growth and weakens stone integrity. Use a good light source to check for loose overhead rocks on the ceilings and walls and fissures or cracks in the stone that can be made worse by heat when building a fire. The lower the ceiling, the more the cave's structural integrity, and your safety, will be at risk; the higher the ceiling, the better as well as better ventilation. Caves can contain Carbon Dioxide (CO2), especially in volcanic regions, and suffocate humans and animals in minutes. A lighted match or candle will not stay lit when CO2 is present. [Cave Shelter Video 1] [Cave Shelter Video 2] [Cave Shelter Video 3] [Cave Safety] Thailand Cave Rescue Debris Hut for Hunting or Survival: Resourcefulness is one of the most important traits of a great hunter or survivalist, especially when it comes to building an outdoor shelter. But when it comes down to it, being sure that the shelter is strong enough is key. Instructions and photos are included, in the link above, for building this hunting blind and shelter from the elements using natural debris, sticks and leaves. Four W's for Choosing a Wilderness Shelter Site are critical elements when searching for a site to camp or build a shelter. Choose poorly and your adventure could turn ugly. Choosing wisely will increase your safety and comfort. 1 - Wind: Position on middle-high ground where wind is present but not too strong to impact the ability to keep a fire safely active and warm a shelter. 2 - Water: An area that can supply a steady source of water. 3 - Wood: Good source for firewood, building a shelter and resin trees (fatwood) for fire-starting and medicinal uses. 4 - Widowmakers: Free of large trees or branches that could present a safety hazard to you and the site if they fell. |
|
The body needs rest to function at its best. After building a shelter from the elements, a sleeping bed is recommended inside the shelter. Generally (with few exceptions), any bed for sleeping in the wild should be built off the ground to avoid creepy-crawlies, on the ground, from invading your sleep space. The few exceptions include times when retaining body heat (in cold and/or wet environments) is necessary. Off-ground bedding allows for heat to escape from the space under and over the bed. On-the-ground bedding helps retain more body heat but may also attract creepy-crawlies on the ground.
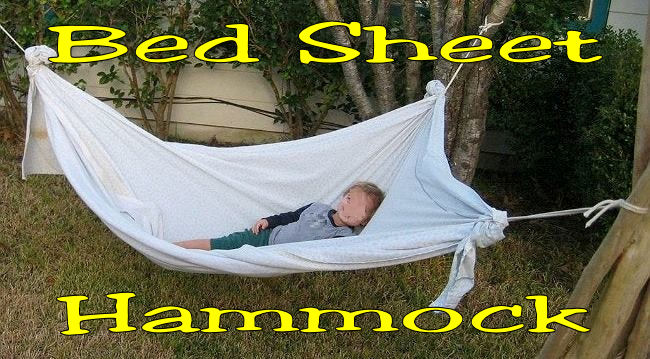
A fire and smoke may help repel critters and insects. Certain scents and plants will repel some critters as well. [Survival Bed Images] [Survival Bed/Shelter Video] [Bedroll vs Sleeping Bag] [Bedroll Video] Bed Sheet Hammock: Want to sleep off the ground because of dampness, insects or a host of other reasons? A hammock can serve this purpose very well. Don't have one? Make one from a plain old bed sheet, table cloth, tarp, poncho or a sleeping bag. Two pieces of strong cordage are needed 3-feet long and another two pieces, 6-feet long.
|

|
While thousands of people have a Recreational Vehicle for vacationing, thousands of others have permanently taken to living on the road in an RV. Like any other lifestyle, the are pros and cons. Read one couple's challenges and adventures of casting off "the norm" for an RV lifestyle that teaches to value experiences over belongings, and relationships over work. Read their on-going RV blog. Also, check out CheapRVLiving.com.
Mail Forwarding and Processing Service for People on the Move Downsides of Rv Life | Fulltime Rv Living | Things to consider before hitting the road Making an RV Evacuation-Ready for an Emergency RV Nomads - The Movie [Blog Link] |
|
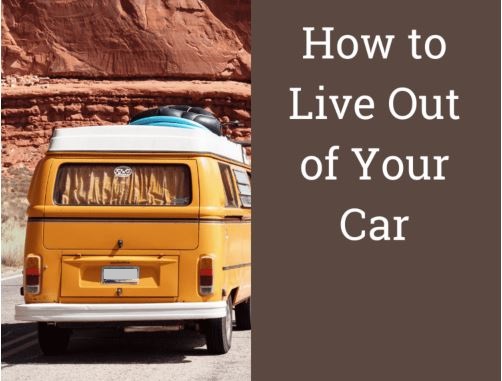
Whether by choice or necessity, living in a car (other than an RV) will be even more challenging than living in an RV; space and basic amenities being the main factors. First on the list of preparations is to prepare it for an Emergency as any good prepper would do. Then consider things like, efficient use of available space, locations to park/rest, camping/cooking/sleeping setup/equipment, personal care products and staying clean, seasonal clothing, food and drink, privacy from prying eyes, communications (cell phone, WiFi/hotspot), staying warm and keeping cool. Read the articles in the links below for details.
Don't think you are depression-proof. Plan ahead for hard times and practice. You won't be disappointed. Living hand to mouth eventually gives you a can-do attitude that can be a lifesaver. Even if you have to give up your home, you will still have one. How to Live Out of Your Car Being Prepared to Live in Your Car Successfully Surviving in Your Car |

|
The Tiny House movement has been growing steadily for years. But living in a tiny house has not been fully realized. Check out these articles to learn more:
Photo Gallery Survive And Thrive In A Tiny House Reasons Why A Tiny House Is A Great Idea Live Big in a Tiny House Bored Teen Builds Himself A Backyard 'House' The Best Off-Grid Homes |

|
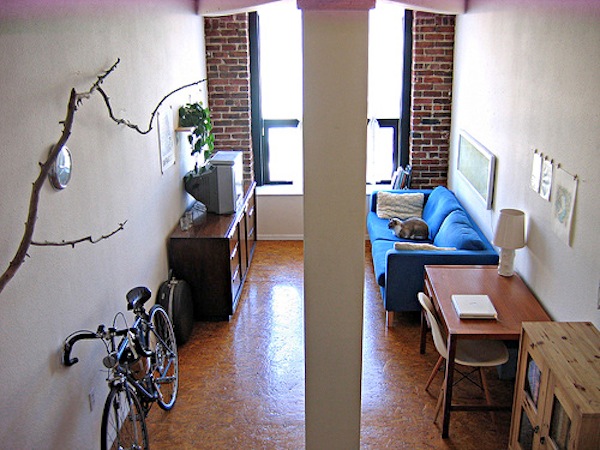
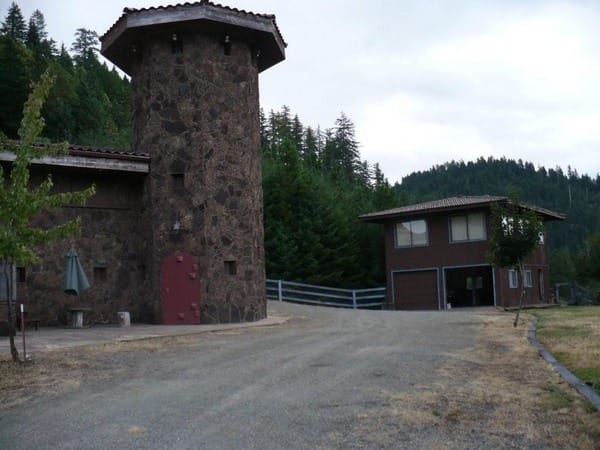
Alternative Housing Ideas: Most of us find it difficult to think beyond our regular houses and apartments with all modern amenities, security etc. Believe it or not, there are still alternate housing options that are there and they are absolutely great.
Other Housing Alternatives |
| City Dweller Options: As post-suburbanites move back into cities, escalating housing costs are forcing low and middle income folks and people of color out to the suburbs. The result is that the diverse communities that make cities resilient creative centers are being displaced or forced to find new, affordable housing options. |
|
Survival Communities:
When we talk about "shelters", it can be more than just structures, it's also about protection; protection from the elements as well as conditions (social unrest, utility outages, pandemics, financial collapse, etc.). So, shelters may also involve protection in the form of people; usually people with a common goal. That's where survival communities come in.
Survival communities are a new and fast-moving wave. While there have always been doomsayers among us, the world (and population) seems to have become more unsettled and volatile over the past several years and survival is on the minds of many people. Survivalists come from all walks of life and live in every part of the world. Survival communities can be found anywhere and led by anyone. Hard core survival communities have serious sheltering options for nearly any scenario with corresponding detailed emergency plans. Other, less structured, communities/groups are simply a group of people with like-minded members seeking a "strength in numbers" approach and may, or may not, live in a specially-designed community but simply stay in touch via email, social media or forums. From shoestring budgets to multi-billion-dollar investments, there's a "survival community" out there for nearly anyone. Naturally, a community is much more than buildings and plans; it's people. Organizing with the right kind of people is very important; get to know them well. Consider this; if the worst scenario happens, there needs to be some unifying ethics, morals, or faith etc. to keep them together other than just having a survivalist time-share. Search for Survivalist Communities Fortitued Ranch - Shelter Assessment Options |

|
Survival Bunkers: Underground bunkers are considered the ultimate survival backup plan. From the budget-minded planner to the billionaire, they can prove to be pretty useful when it's time to batten down the hatches. But they can quickly throw a wrench into survival plans if they aren't designed and built properly. The main weaknesses of an underground bunker are a Weak Entrance, Poor Air Circulation and proper Waste Management (sewage and garbage). Here are some reference links and photos to review if you are inclined to consider this level of survival shelter:
Considerations Before Building: [Article 1] [Article 2] [Article 3] Survival Bunker Designs Doomsday Bunkers That Redefine Luxury Safe Room Supplies How to Build a Safe Room Basic Safe Room Safe Places for Severe Weather Abandoned Bunkers Across America |


Related Resources:
Survival Companionship
Search for Building Different Types of Wilderness/Survival Shelters
Sheltering Products
Air Filtering Indoors with Plants
Cooling the Living Area
Solar Heater
Emergency Cooking and Heating
Essentials for Choosing Bug-Out Locations